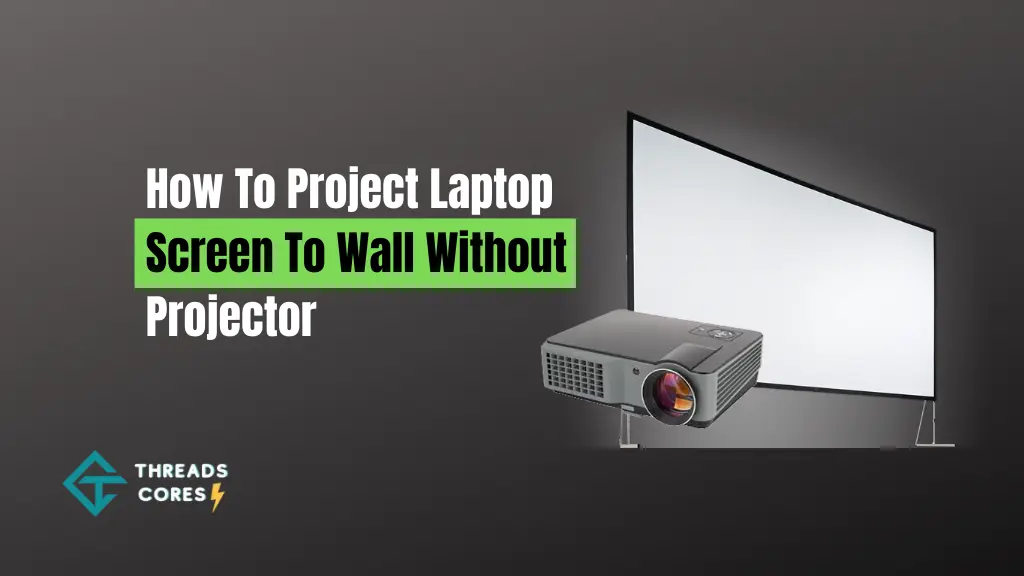
If you want to watch a movie or give a presentation without having to lug around a projector, there’s an easy solution: using your laptop’s screen mirroring feature. This article will show you how to project your laptop screen to the wall without a projector.
Projecting Laptop Screen to Wall without Projector
Here we are providing some useful information about how to project a laptop screen to the wall without a projector.
Please follow the below steps:
1. First of all Go to your “Start” menu select “Control Panel” and then click the option labeled “Appearance and Personalization.”
2. After that, click on the option labeled “Display Settings” located in the new window.
3. Finally, you have to click the option labeled “Advanced settings” on the screen.
4. Now on the left side of your screen you will see a section called “Display.” In that section there is a drop-down box with an arrow sign located right next to it, select “Extend these displays.”
5. Now you have to find your second monitor, in this case, the laptop screen, and drag it over to your main monitor.
6. At this point one screen will overlap the other, causing everything on the rear display to appear mirrored on your primary monitor.
7. Here you can use your laptop in full without having any difficulty.
8. You can project your laptop screen to the wall just by using a TV and an HDMI cable and enjoy your presentation or movie without any hassle.
Related: How To Charge Laptop With HDMI
Alternatives to Using a Projector
You can project your computer screen on the wall by using an HDMI cable and attaching it between your laptop and TV.
First, make sure both devices are on the same Wi-Fi network so they can communicate with each other. Then, go to your TV’s settings menu and check to see if there is an option for screen mirroring. To find out what kind of cable you will need, check your laptop’s specifications.
Project Mirroring on Windows
Step 1: Make sure both devices are connected to the same Wi-Fi network.
Step 2: Press the Windows key + P to bring up the projection menu. In the bottom left corner of your screen, you can select which device to project from.
Step 3: Click “Connect To a Wireless Display” & “Add a wireless display.” Check to see if there is a checkmark next to your TV’s name. If so, click on it and select “Project.”
Conclusion
We hope you found this article helpful in your search for a way to project your laptop screen onto the wall. If you have any questions or need help with anything, please let us know in the comments or email us.

I believe good gaming is not only about how it is played but how smooth it is.